
The only thing I bought for this project was a vintage cardstock pack at Hobby Lobby.
I had everything else at home.
I wanted my Banner to say "HALLOWEEN", but I think a banner that says "SPOOKY" would of been super cute too.
Step One:
Pick out the cardstock you want to use, and cut out the flags.
*Tip I penciled in my banners all at the same time and cut them all at the same time...my opinion is that it makes more sense to do it that way...but I've learned my opinion is sometimes a little bit ummm...my opinion :)
My flags were 8 inches on the sides and 6.5 inches across the top.

2. Lay out the flags out in the order that you want them.

3. Use Pre-Cut Letters, or if your like me and your don't own one of those fancy schmancy silouette's, cut them out your self. I had to redo a couple but all in all it was no biggy.

4. Apply glue to the letters like so, and then add the glitter. Do this to all the letters so the glue can be drying while you do the next step.

5. Step four: Cut out enough pieces of burlap, to go under each letter.
*Tip: I did not worry about perfectly cutting my burlap or making sure it was positioned beautifully onto my flag. I like things perfectly imperfect...(I learned to accept perfectly imperfect from my primary calling)

6. Sew Glittered letter and burlap onto Flag. I used black thread. See how I sewed all the way across on this letter?? Don't do that! Just sew where the black letter is then you do not see the thread.
*Tip...my glitter and glue did get a little messed up when I sewed, on some letters because the glue was not fully dry. I fixed it easily by dipping it back into the glitter. You could however save the glitter until after you have sew the letter and burlap onto the banner if you think that works best. Like I said my opinion is really just my opinion :)

7. Sew the Top part of the banner onto the flags. (Make sure all the letters are in order as you do this)
Cut a piece of burlap and fold it over and sew with the flags on the inside of the burlap. For this picture I used the end of the burlap sac that I had that had a cool folded over ending. The next picture shows the fold and sew technique.


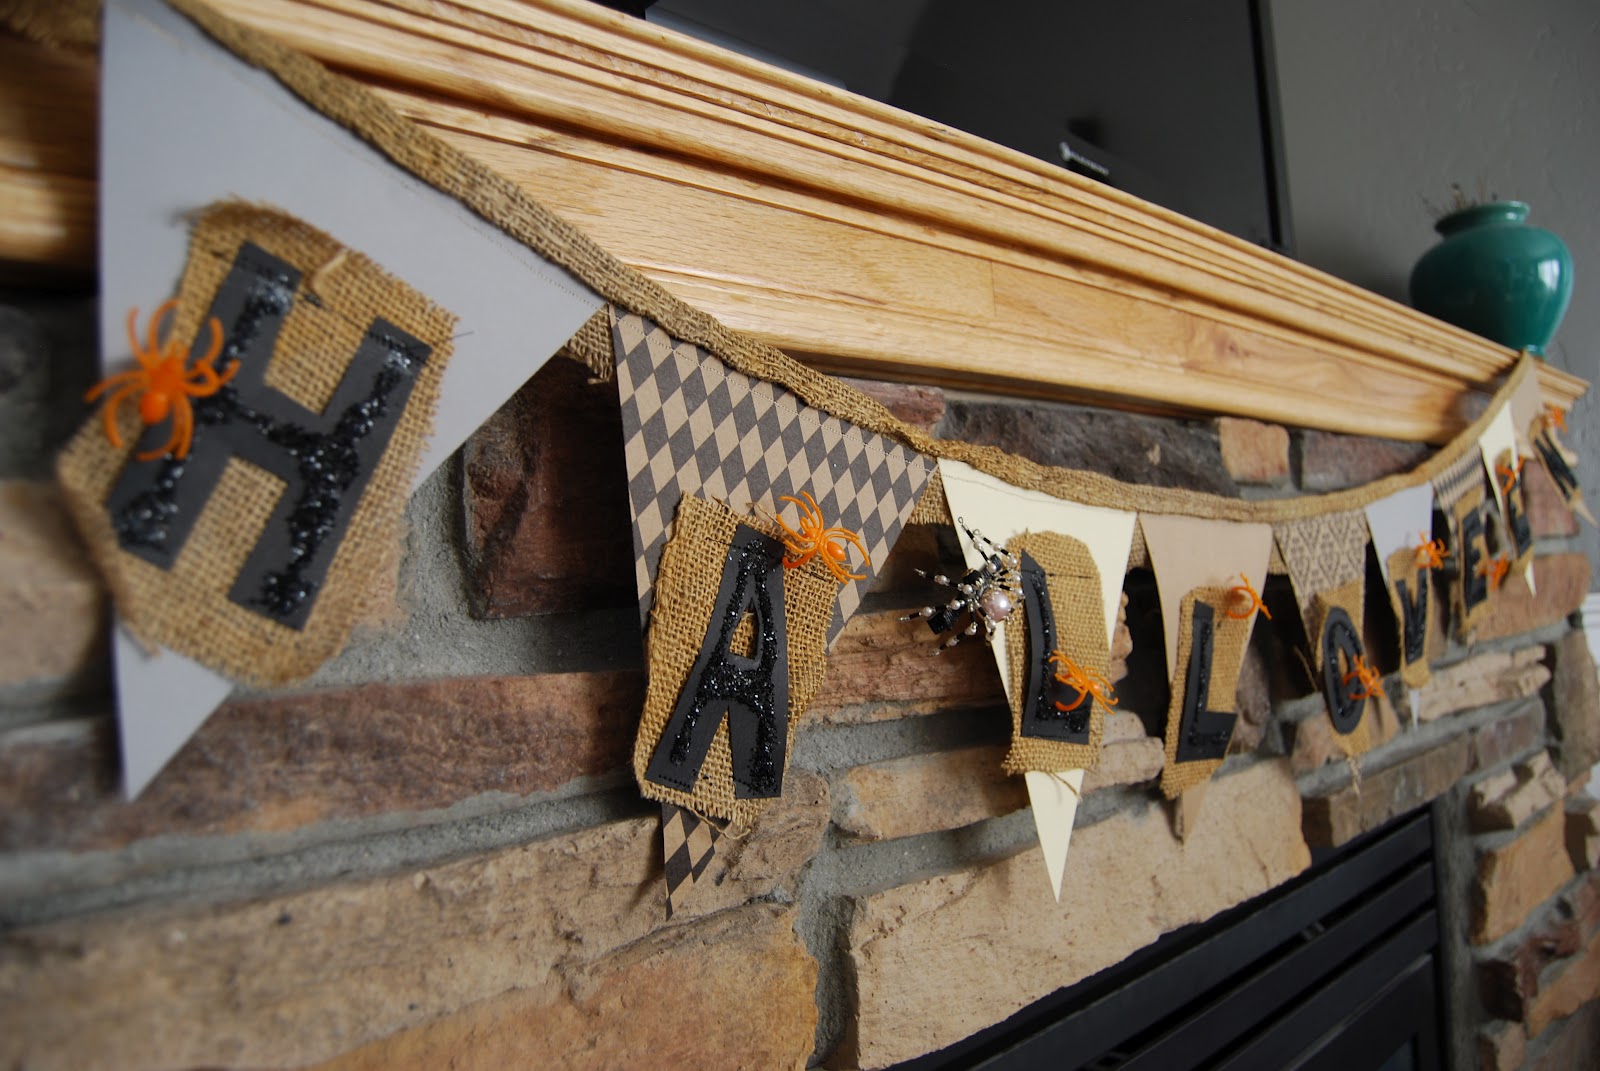
And here is the end result!! Super easy and fun to make!

I decided to add some of those plastic ring spiders to give it just the right amount of creepy to make it Halloween worthy. 


And here is a cute little ghost that my son made for me, last year I think? I just love it.

Happy Crafting all!
Loves,
Jill